7.1 Creating a frontend using Next
In this step of the tutorial you will learn how to create your frontend for the getting started project using Next.
#Overview
In this lesson, you'll learn how to create a Next app and connect it to Hygraph.
This document is divided in two parts, the first one is a quick overview that explains how to set up a new Next project from scratch. This is general information, in case you have never created a Next project before.
The second part of this document is the lesson of our Getting Started where you clone the e-commerce Hygraph starter that will be used for the rest of the tutorial.
#Quick overview: Creating a new Next app
If you have never set up a Next project before, this quick overview provides some general information on how to do it.
If you already have experience using Next, please move on to the following document section to continue with the Getting Started tutorial.
To start, we need to initialize a new Next.js 13 project. Open up your terminal and navigate to where you want your project, then run the following command:
npx create-next-app hygraph-boutique
The interactive setup will ask you questions to configure your project. Initialize with the following answers:
- Typescript: No
- ESLint: Yes
- Tailwind CSS: Yes
- src/ directory: No
- App Router: Yes
- Import alias: No
After choosing the options, the CLI will install all the necessary pieces to run your Next.js site.
Once the installation completes, open the new Next project in a code editor of your choice. We need to adjust the default Tailwind styling that Next.js gives us from the installation.
Remove the global CSS rules in styles/globals.css except following Tailwind imports:
@tailwind base;@tailwind components;@tailwind utilities;
Now that you know how to create a Next app, we're going to clone a starter that contains a full-fledged project.
Before you continue, type cd in your console to get out of the Next app that you've just created.
#Clone the Hygraph E-commerce starter
All Hygraph starters are located on the main dashboard after to login. Scroll past the “My Projects” section to the “Start a new Project” section and choose the E-commerce shop starter. This will create a new hygraph project as well as the frontend template for a website.
Since, we already have a Hygraph project, let's clone the starter without creating a new Hygraph project. Here's the link to the repository.
Type the following command into your terminal to clone the starter:
git clone https://github.com/hygraph/hygraph-next-commerce-starter.git
Navigate to the project directory and type npm install to install the package dependencies.
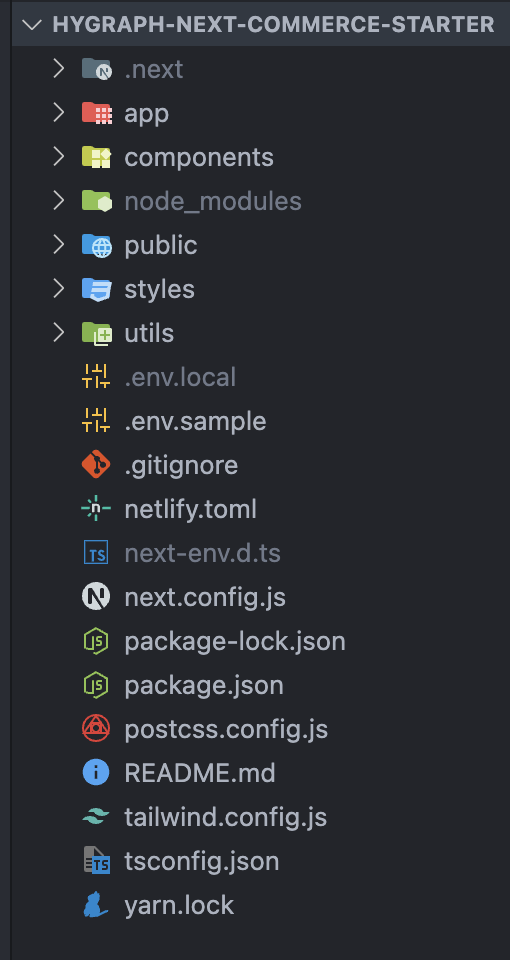
You project's file tree should look like this:
 Next file tree
In the next lesson, we will connect our e-commerce storefront to our existing Hygraph project.
Once you've created your frontend using Next, move on to our next lesson:
7.2 Connecting our storefront