Upload asset
 Upload asset
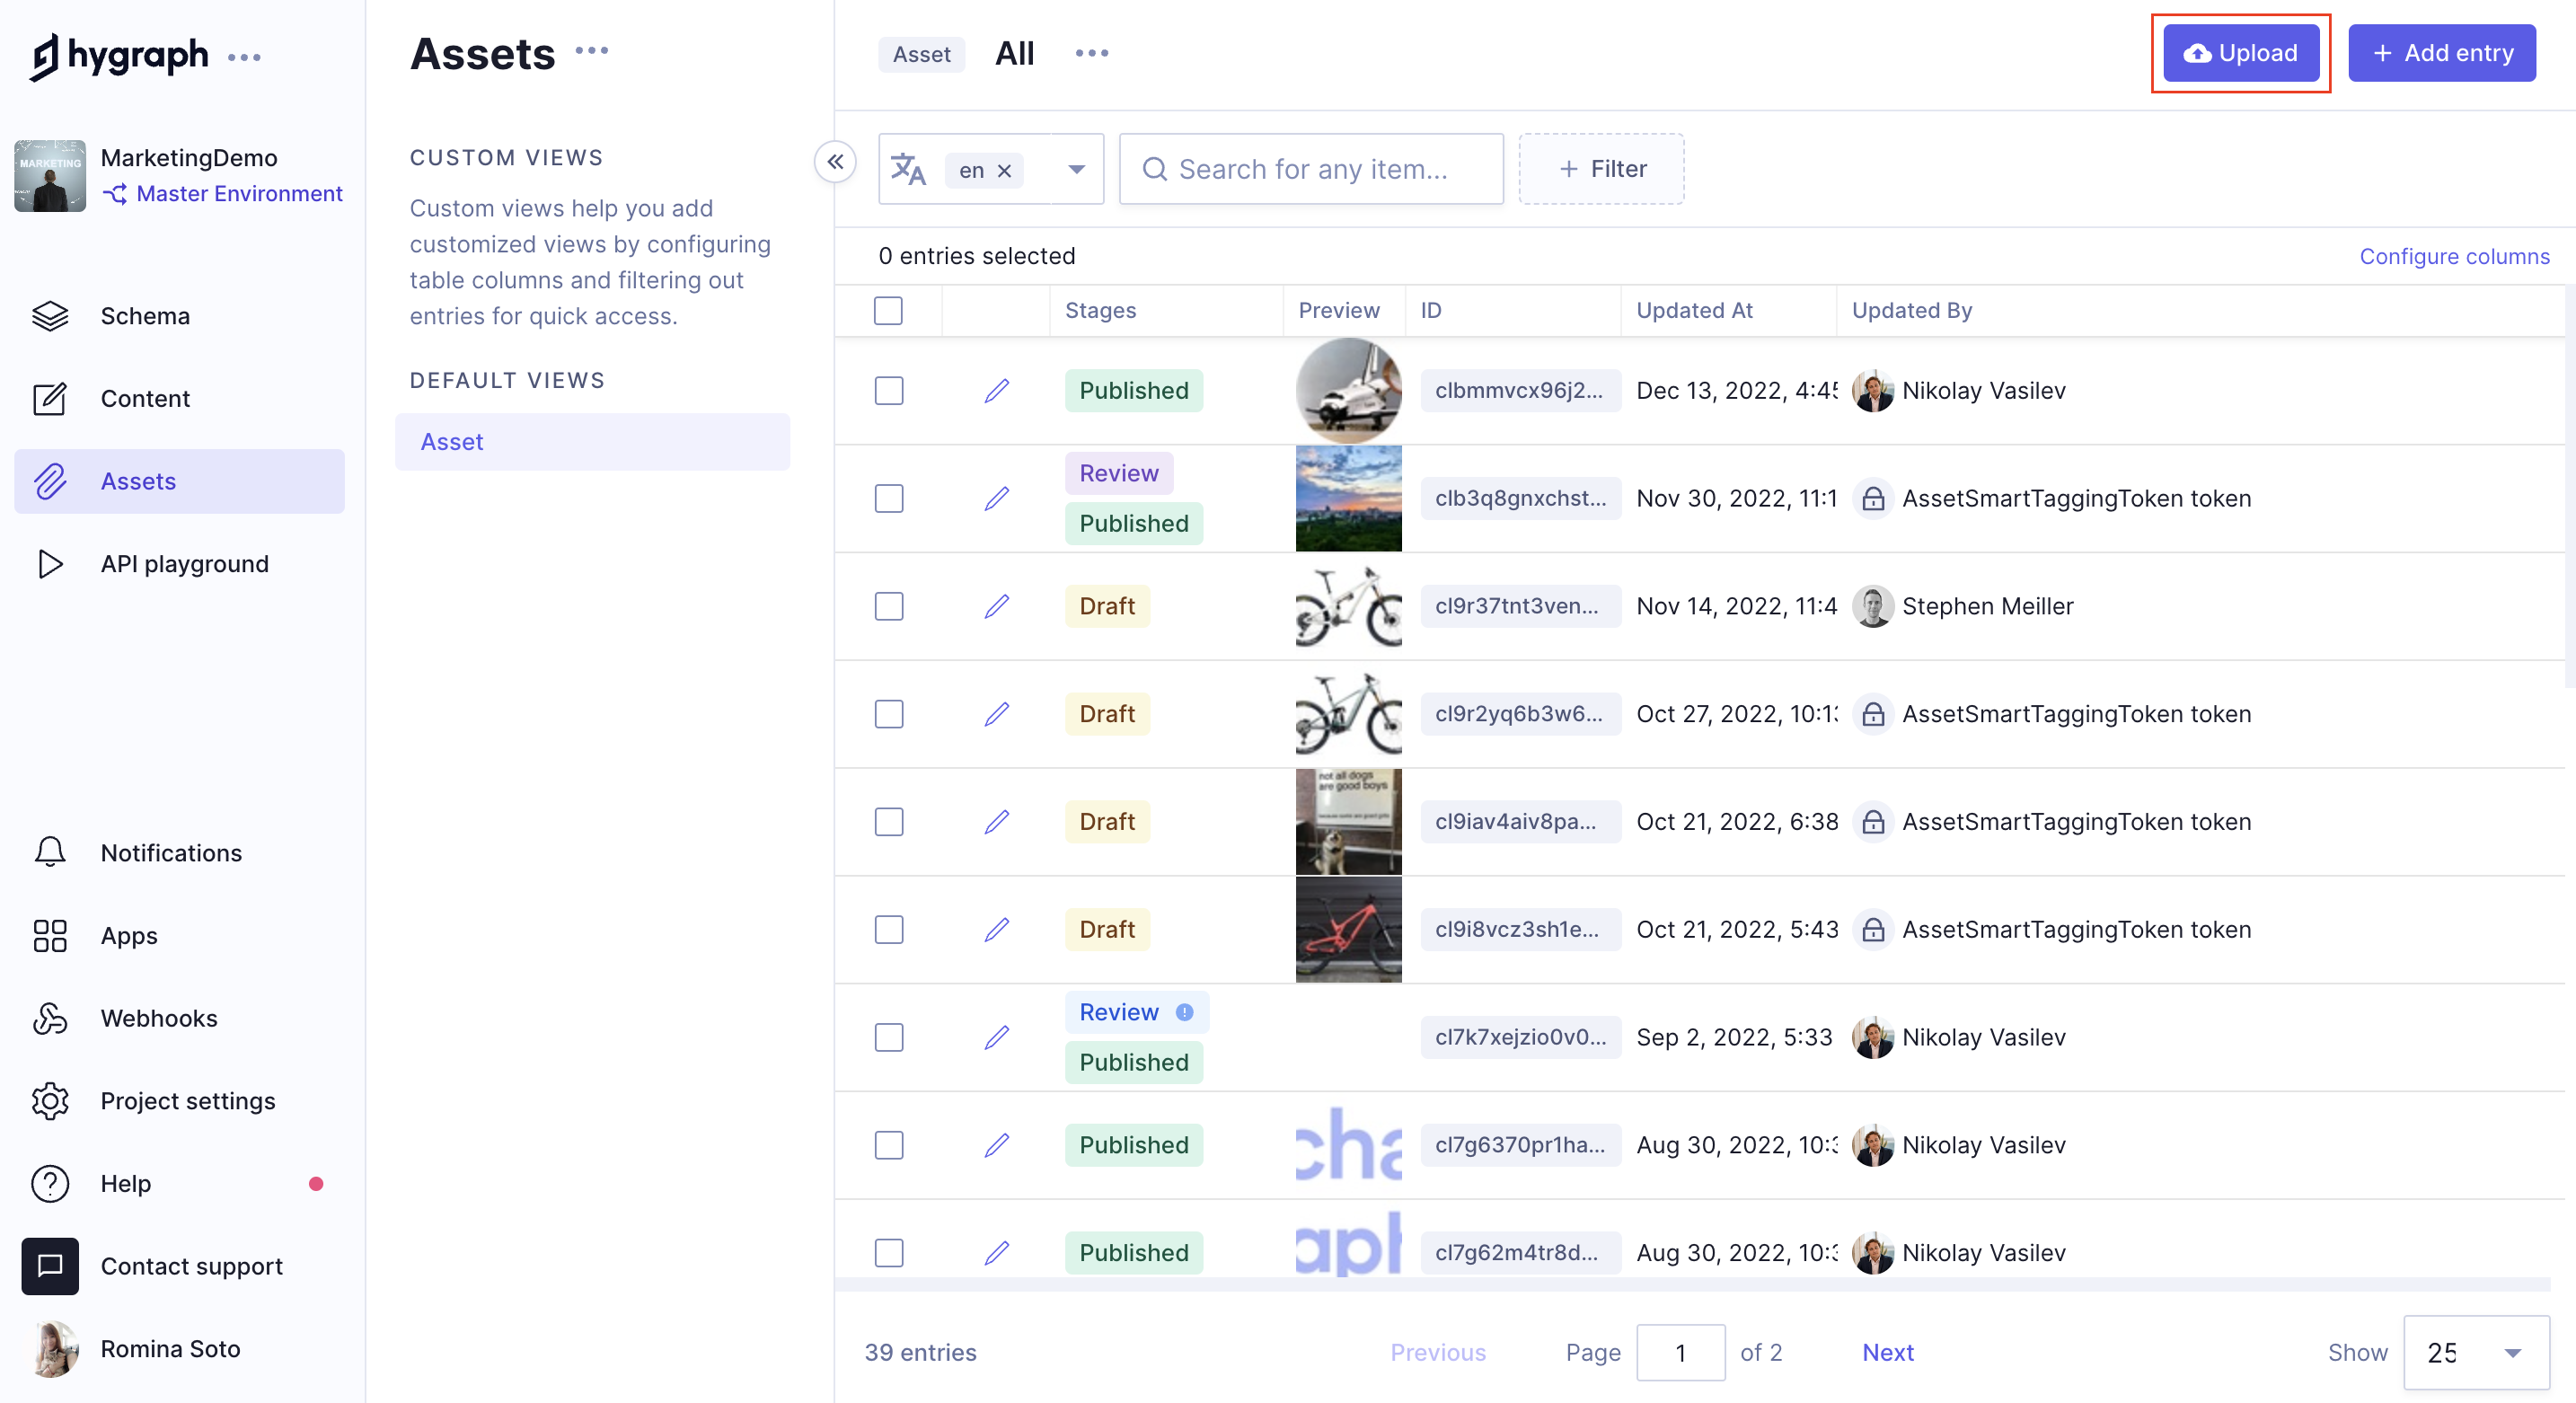
To upload an asset, navigate to the Assets tab of your project and click on the Upload button, located at the top right corner of your screen.
A screen will pop up, prompting you to select an asset source. Uploading an asset from your device is the default option, but you can select different options:
- Upload an asset from your device.
- Provide an asset URL.
- Search images through web search.
- Connect the project to a Facebook account to select an asset from it.
- Connect the project to an Instagram account to select an asset from it.
- Connect the project to a Google Drive account to select an asset from it.
You can add assets from one or more of these sources.
As you select multiple assets, the pop up screen will display them on a list, where you will have the following options:
Filter: You can filter assets by name. This is specially useful when you need to find a specific asset in a long list.Edit: TheEditoption allows you to crop the image, create a circular image using part of it, or rotate it.Eliminate: TheEliminateoption simply removes the asset from the list.Deselect all: This button clears the assets list.Upload more: To upload multiple assets at the same time, you can click on theUpload morebutton, or click on one of the asset source icons then select a new one.Upload: This button finishes the process by uploading all selected assets. As a result, the assets will display in the uploaded assets list in stageDRAFT.
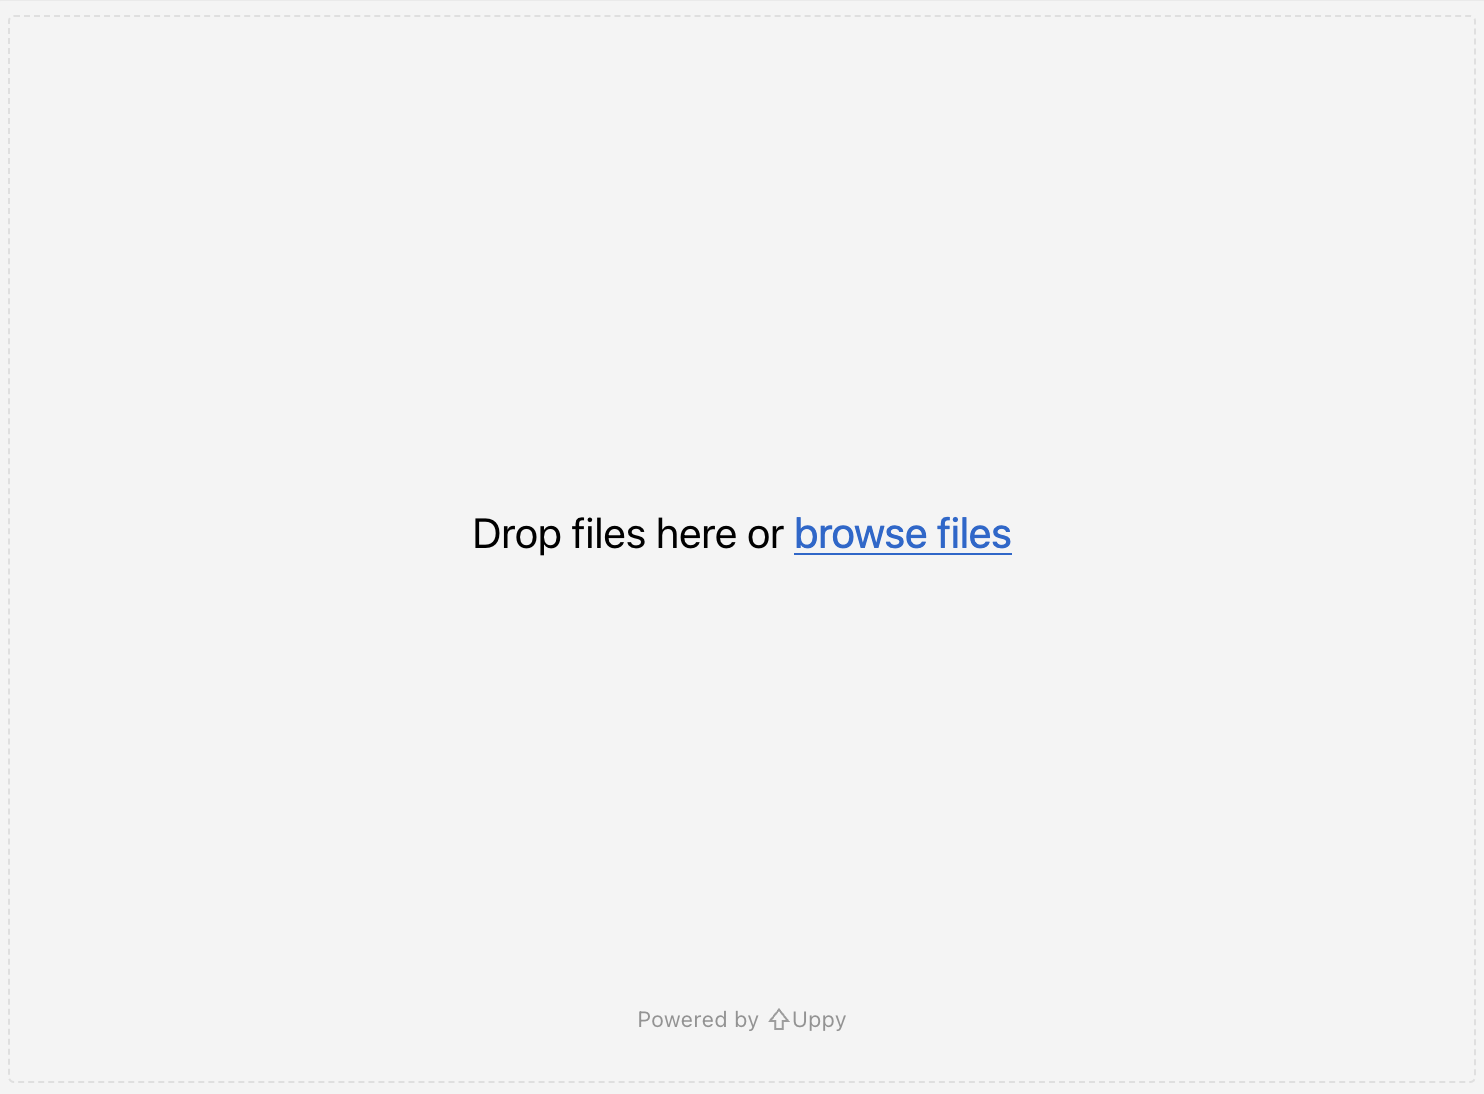
This screen will look different if you are using the new Hygraph Asset Management system:
 UI - Hygraph Asset Management system
At the moment, this system only supports uploading files from your computer.